
How to Refresh Windows 8 and Windows 8.1
This will show you how to use a new feature in Windows 8 and Windows 8.1 to refresh your PC to keep all personal data, Metro style apps, and important settings from the PC, and reinstall Windows.
If a recovery image provided by your PC's manufacturer is present, Windows 8 will use that image when you refresh your PC. Otherwise, Windows 8 will use your installation media when you refresh your PC.
This refresh feature is something close to like what doing a repair install in Windows 7 and Vista was for, but made a lot easier, faster, and safer to do now in Windows 8.
You must be signed in as an administrator to be able to do the steps in this tutorial.
Refreshing your PC goes like this:
- The PC boots into Windows RE (Recovery Environment).
- Windows RE scans the hard drive for your data, settings, and apps, and puts them aside (on the same drive).
- Windows RE installs a fresh copy of Windows.
- Windows RE restores the data, settings, and apps it has set aside into the newly installed copy of Windows.
- The PC restarts into the newly installed copy of Windows.
Which Settings will be Preserved
- All user accounts.
- Files in all users' C:\Users\(user-name) folders. (ex: Desktop, My Documents, My Music, etc...)
- Wireless network connections
- Apps from the Windows Store will be kept.
- Mobile broadband connections
- BitLocker and BitLocker To Go settings
- Drive letter assignments
- Personalization settings such as lock screen background and desktop wallpaper
- Choices you made during Windows Welcome, such as computer name and user accounts, will not change.
- Network, Libraries, and Windows Update settings will not change.
- Customer Experience Improvement Program settings will not change.
- Windows Error Reporting settings will not change.
- Some drivers may or may not be removed.
- File type associations
- Display settings
- User settings
- Windows Firewall settings
- App settings
- All installed 3rd party desktop programs (not Store apps). A list of removed apps will be saved on your desktop after the refresh is finished to let you know which programs were removed.
- You PC settings will be changed back to their defaults.
- Installed Windows Updates will be removed.
- Some drivers may or may not be removed.
If you create a custom recovery image, a refresh will also contain the desktop apps you've installed, and the Windows system files in their current state. If you would like to be able to refresh Windows 8 with a custom recovery image, then you would need to create and register a custom image first.
Refresh Windows 8 - Create and Use Custom Recovery Image
OR
Refresh Windows 8 - Set a Custom Recovery Image as Active
Refresh Windows 8 - Create and Use Custom Recovery Image
OR
Refresh Windows 8 - Set a Custom Recovery Image as Active
If you set UAC to Always notify me, then you will not be able to use the refresh and reset Windows 8 features. These features require UAC to be set to the default or lower level to work.
If you have an OEM PC that came with Windows 8 preinstalled and updated to Windows 8.1, then when you refresh Windows, it will restore Windows 8. Afterwards, you will need to update to Windows 8.1 via the Store again.

If you have an OEM PC that came with Windows 8 preinstalled and updated to Windows 8.1, then when you refresh Windows, it will restore Windows 8. Afterwards, you will need to update to Windows 8.1 via the Store again.
OPTION ONE
How to Refresh Windows 8 and Windows 8.1 at Boot
1. Boot to the System Recovery Options using your Windows 8 installation DVD or USB thumb drive, or ISO file if in a virtual machine, and click/tap on the Refresh your PC option. (see screenshot below}

2. Click/tap on Next. (see screenshot below)

3. If prompted, select the Windows 8 or 8.1 that you want to refresh. (see screenshot below)

4. Click/tap on Refresh. (see screenshot below)

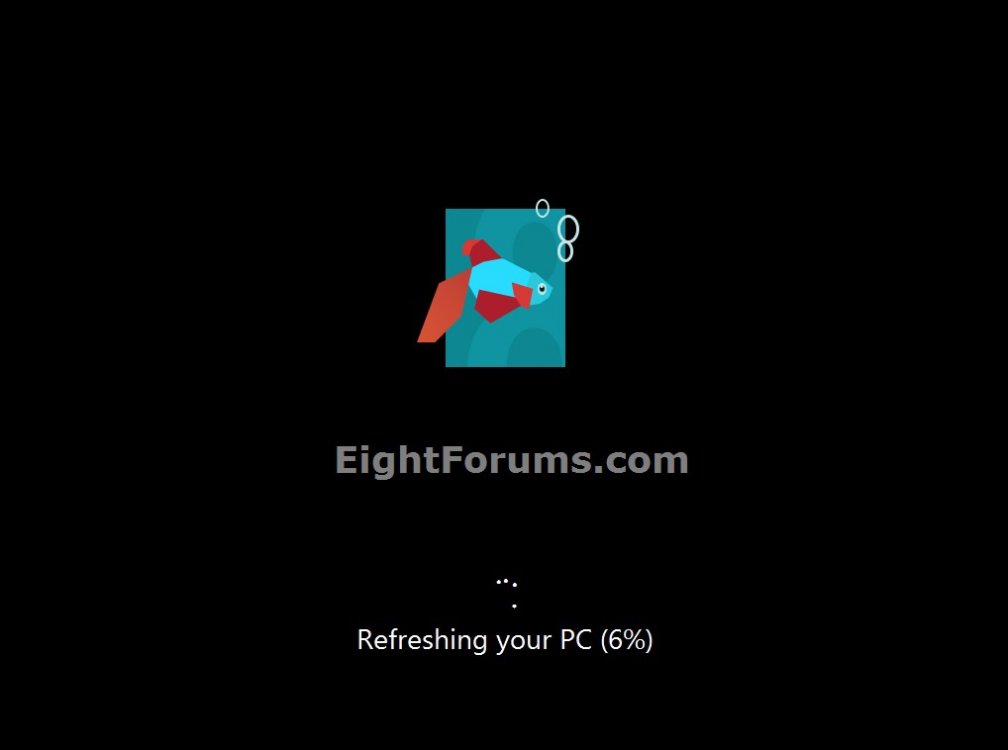
5. Windows 8 or 8.1 will now start to be refreshed.
6. When it's finished, you can now log back on to a refreshed Windows 8 or 8.1. (see screenshots below)


If any apps were removed during the refresh, you will find a Removed Apps.html file on the desktop detailing what it removed and at what time.
You will also now have a Windows.old folder that has been placed in the root directory of the Windows 8 or 8.1 drive that contains a copy of the previous Windows 8 or 8.1 installation before it was refreshed. This folder can be quite large in size, so the tutorial below will show you how to delete it if you like.
OPTION TWO
Refresh Windows 8 or Windows 8.1 from within Windows 8 and 8.1
1. While signed in as an administrator in Windows 8 or 8.1, do step 2 or 3 below depending on which option you would prefer to use.
2. Open the Control Panel (icons view), click/tap on the Recovery icon, click/tap on the If you're experiencing problems with your PC, you can refresh it in PC settings link, and go to step 4 or 5 below. (see screenshot below)

3. Open PC settings, and do step 4 or 5 below for the Windows 8 you have installed.
4. If you have Windows 8.1 or Windows RT 8.1
A) On the left side in PC settings, click/tap on Update & Recovery. (see screenshot below)

B) On the left side in Update & Recovery, click/tap on Recovery, click/tap on the Get started button under the Refresh your PC without affecting your files section on the right side, and go to step 6 below. (see screenshot below

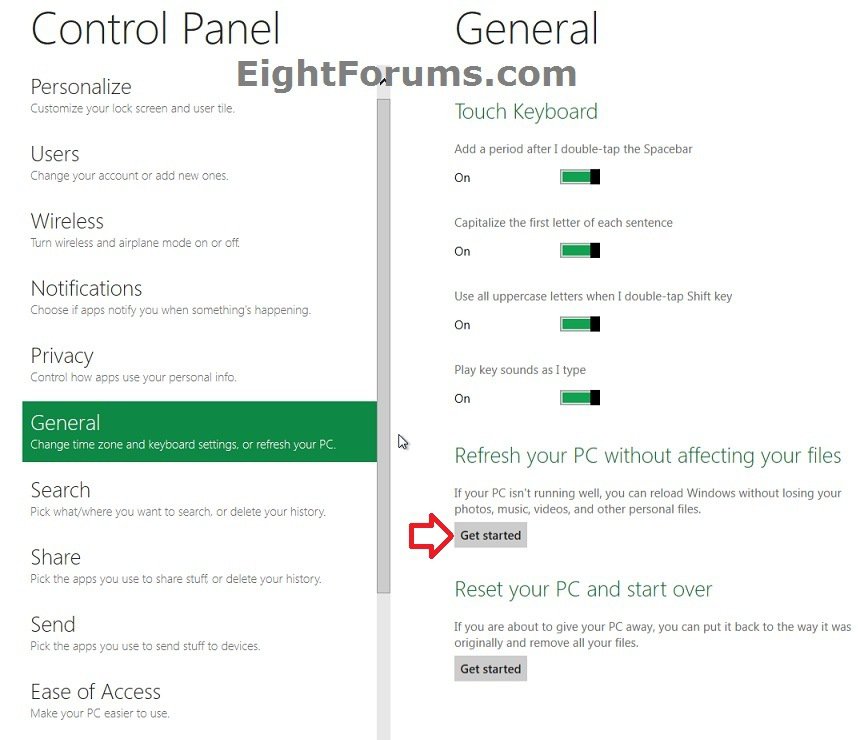
5. If you have Windows 8 or Windows RT
A) Click/tap on General on the left side, click/tap on the Get started button under the Refresh your PC without affecting your files section on the right side, and go to step 6 below. (see screenshot below)

6. If prompted by UAC, then click/tap on Yes.
7. If prompted to Insert media, insert or connect your Windows installation DVD or USB, or ISO file if in a virtual machine.

8. Click/tap on Next. (see screenshots below)

9. Click/tap on Refresh. (see screenshot below)

10. Windows 8 or 8.1 will now start to be refreshed.
11. When it's finished, you can now log back on to a refreshed Windows 8 or 8.1. (see screenshots below)
If any desktop apps (programs) were removed during the refresh, you will find a Removed Apps.html file on the desktop detailing what it removed and at what time.
You will also now have a Windows.old folder that has been placed in the root directory of the Windows 8 or 8.1 drive that contains a copy of the previous Windows 8 or 8.1 installation before it was refreshed. This folder can be quite large in size, so the tutorial below will show you how to delete it if you like.
How to Delete the "Windows.old" Folder in Windows 8
That's it,
Shawn
Related Tutorials
- How to Create a Refresh Windows Shortcut in Windows 8 and 8.1
- How to Do a Repair Install of Windows 8 without Losing Anything
- How to Refresh or Reset Windows 8 without Installation Disk
- How to Create a Custom Recovery Image to Use to Refresh Windows 8
- How to Set a Custom Recovery Image as Active to Use to Refresh Windows 8
- How to Display Path of Current Active Recovery Image Used to Refresh Windows 8
- How to Deregister the Current Custom Recovery Image to Refresh Windows 8
- How to Boot to the "System Recovery Options" in Windows 8
- How to Create a Recovery PC settings Shortcut in Windows 8.1
- How to Reset Windows 8 and Windows 8.1
- How to Delete the "Windows.old" Folder in Windows 8
- How Run a "Automatic Repair" to Fix Windows 8 Startup Problems
- How to Run the "SFC /SCANNOW" Command at Boot or in Windows 8
- How to Do a System Image Recovery in Windows 8
- How to Use DISM to Fix Component Store Corruption in Windows 8 and Windows Server 2012
- How to Fix "You've been signed in with a temporary profile" Error in Windows 8 and 8.1
- How to Fix "User Profile Service service failed the sign-in. User Profile cannot be loaded." Error in Windows 8 and 8.1
Attachments

Last edited:


")


