How to Create a Recovery Image used to Reset Windows 8 or 8.1
If you're having problems with Windows 8 or 8.1 on your PC, you can try to refresh, reset, or restore it.
When you reset your PC, it will remove everything and reinstall Windows 8 or 8.1 to start over completely with a clean install.
To be able to reset Windows 8 or 8.1 you will need to first insert your Windows 8 or 8.1 installation media, UEFI installation media, or recovery drive if there is not an OEM factory recovery image present.
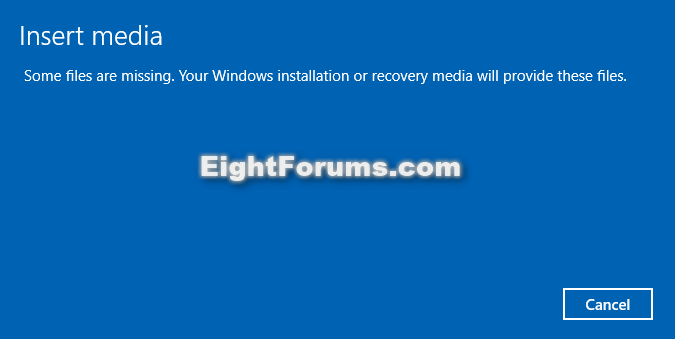
This tutorial will show you how to create a recovery image that is used instead of OEM recovery image, installation media, or recovery drive for a push-button reset of Windows 8 or 8.1.
When you reset your PC, it will remove everything and reinstall Windows 8 or 8.1 to start over completely with a clean install.
To be able to reset Windows 8 or 8.1 you will need to first insert your Windows 8 or 8.1 installation media, UEFI installation media, or recovery drive if there is not an OEM factory recovery image present.

This tutorial will show you how to create a recovery image that is used instead of OEM recovery image, installation media, or recovery drive for a push-button reset of Windows 8 or 8.1.
You must be signed in as an administrator to be able to create a reset recovery image.
A reset recovery image is basically like having your installation media always connected and ready to use to reset your PC with.
The reset recovery image will continue to still be available after a reset of Windows 8 or 8.1.
A reset recovery image is basically like having your installation media always connected and ready to use to reset your PC with.
The reset recovery image will continue to still be available after a reset of Windows 8 or 8.1.
Here's How:
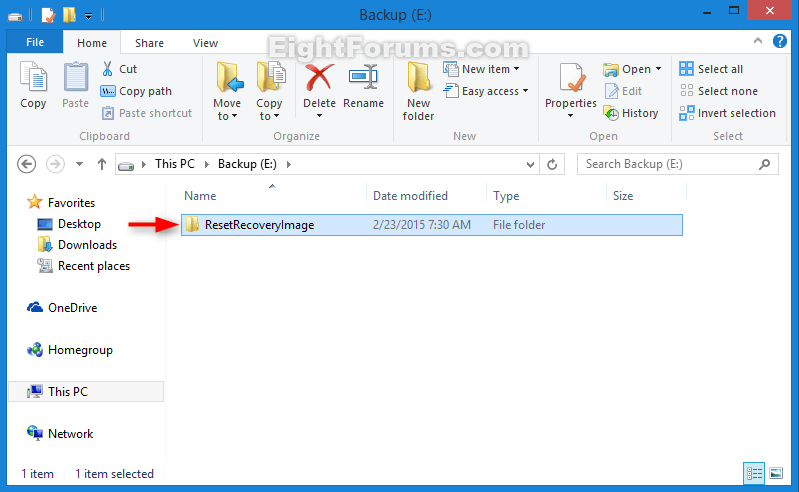
1. In File Explorer, create a new folder named ResetRecoveryImage at a location (ex: E: ) where you want to keep the recovery image stored at. (see screenshot below)
2. If you have not already, download a 32-bit or 64-bit Windows 8 or 8.1 ISO file that is the same edition and 32-bit or 64-bit as your currently installed Windows 8 or 8.1.
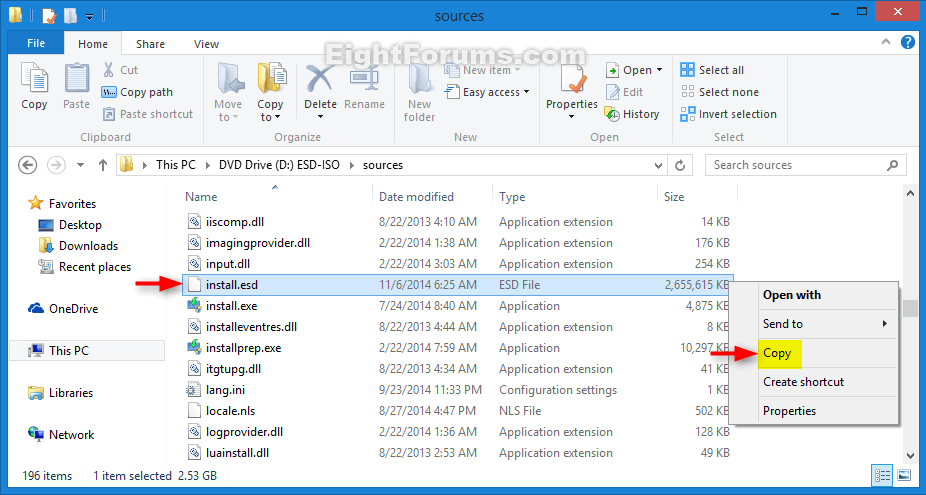
3. Double click/tap on the ISO file to mount and open it. Open the sources folder, and copy the install.esd or install.wim file. (see screenshot below)
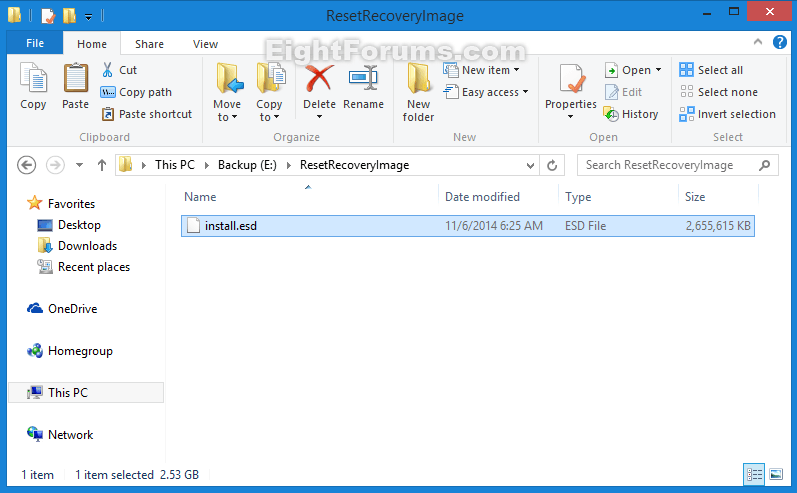
4. Paste the install.esd or install.wim file into the new ResetRecoveryImage folder from step 1 above. (see screenshot below)
5. Open an elevated command prompt.
6. In the elevated command prompt, type the command below, and press Enter. (see screenshot below)
:ar: reagentc /setosimage /path "location\ResetRecoveryImage" /index 1
Substitute location in the command above with the full path of where you created the ResetRecoveryImage folder at in step 1 above.
For example:
reagentc /setosimage /path "E:\ResetRecoveryImage" /index 1
7. When finished, you can close File Explorer and the command prompt if you like.
If you have created or set a custom recovery image to refresh Windows 8 or 8.1 with, then you will need to set the refresh image as active again using the tutorial at the link below. When you create a reset image it automatically deregisters the refresh image.
This way you can have a separate recovery image used to reset, and a separate custom recovery image used to refresh with.
How to Set a Custom Recovery Image as Active to Use to Refresh Windows 8 and 8.1
This way you can have a separate recovery image used to reset, and a separate custom recovery image used to refresh with.
How to Set a Custom Recovery Image as Active to Use to Refresh Windows 8 and 8.1
That's it,
Shawn
Attachments
Last edited by a moderator:

