
How to Move a Tile on Start Screen in Windows Phone 8
On your Windows Phone, Start is your home base: you can keep all of your important stuff as tiles right where you need it, and be able to perform a task with only a tap or two.
If you like, you can move tiles around to where you want them on the Start screen.
This tutorial will show you how to move tiles to where you want them on the Start screen in Windows Phone 8.
If you like, you can move tiles around to where you want them on the Start screen.
This tutorial will show you how to move tiles to where you want them on the Start screen in Windows Phone 8.
Here's How:
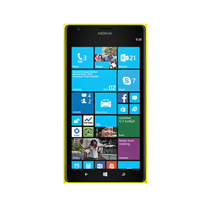
1. Open your Start screen, and press and hold on the tile (ex: Weather) you want to move until it pops into the foreground. (see screenshot below)
NOTE: Don't release the tile yet. Keep pressing and holding it.

2. Drag and drop the tile to where you want it to be at on the Start screen. (see screenshots below)
When you move tiles around, you're free to leave gaps between them, have only one tile in a row, or fill up every available space.
If you move a tile to a spot that already has a tile, the original will be moved out of the way. If there's no empty space nearby, your phone will create a gap to make room for the tile.
If you move a tile to a spot that already has a tile, the original will be moved out of the way. If there's no empty space nearby, your phone will create a gap to make room for the tile.


3. If you like, you could also resize the tile to what you want.
4. When you're finished, you can do either action below to set the tile's location. (see screenshot below)
- Tap on an empty space on the Start screen.
- Press the Start :winkey: button at the bottom of the phone in the center.


5. If you like, you can keep rearranging until all your tiles are moved to where you want them.
That's it,
Shawn
Attachments
Last edited: