How to Change Number of Apps Tile Rows on Start Screen in Windows 8 and 8.1
This tutorial will show you how to increase or reduce the number of default apps rows of tiles that are displayed on your Start screen in Windows 8 and Windows 8.1.
By default, Windows 8 and 8.1 automatically detects what your current screen resolution is, and then automatically sets how many rows will be for the apps and other pinned items on the Metro Start screen based on the screen resolution size. This is usually only 3 to 5 rows by default.
For example: If you have a 1920 x 1080 (horizontal x vertical) screen resolution, then you would have 6 rows by default. You could either reduce the number of rows to a minimum of 1 row, or increase it up to a maximum of 6 rows for this screen resolution size.
See table under step 6 in OPTION THREE below for more on this.
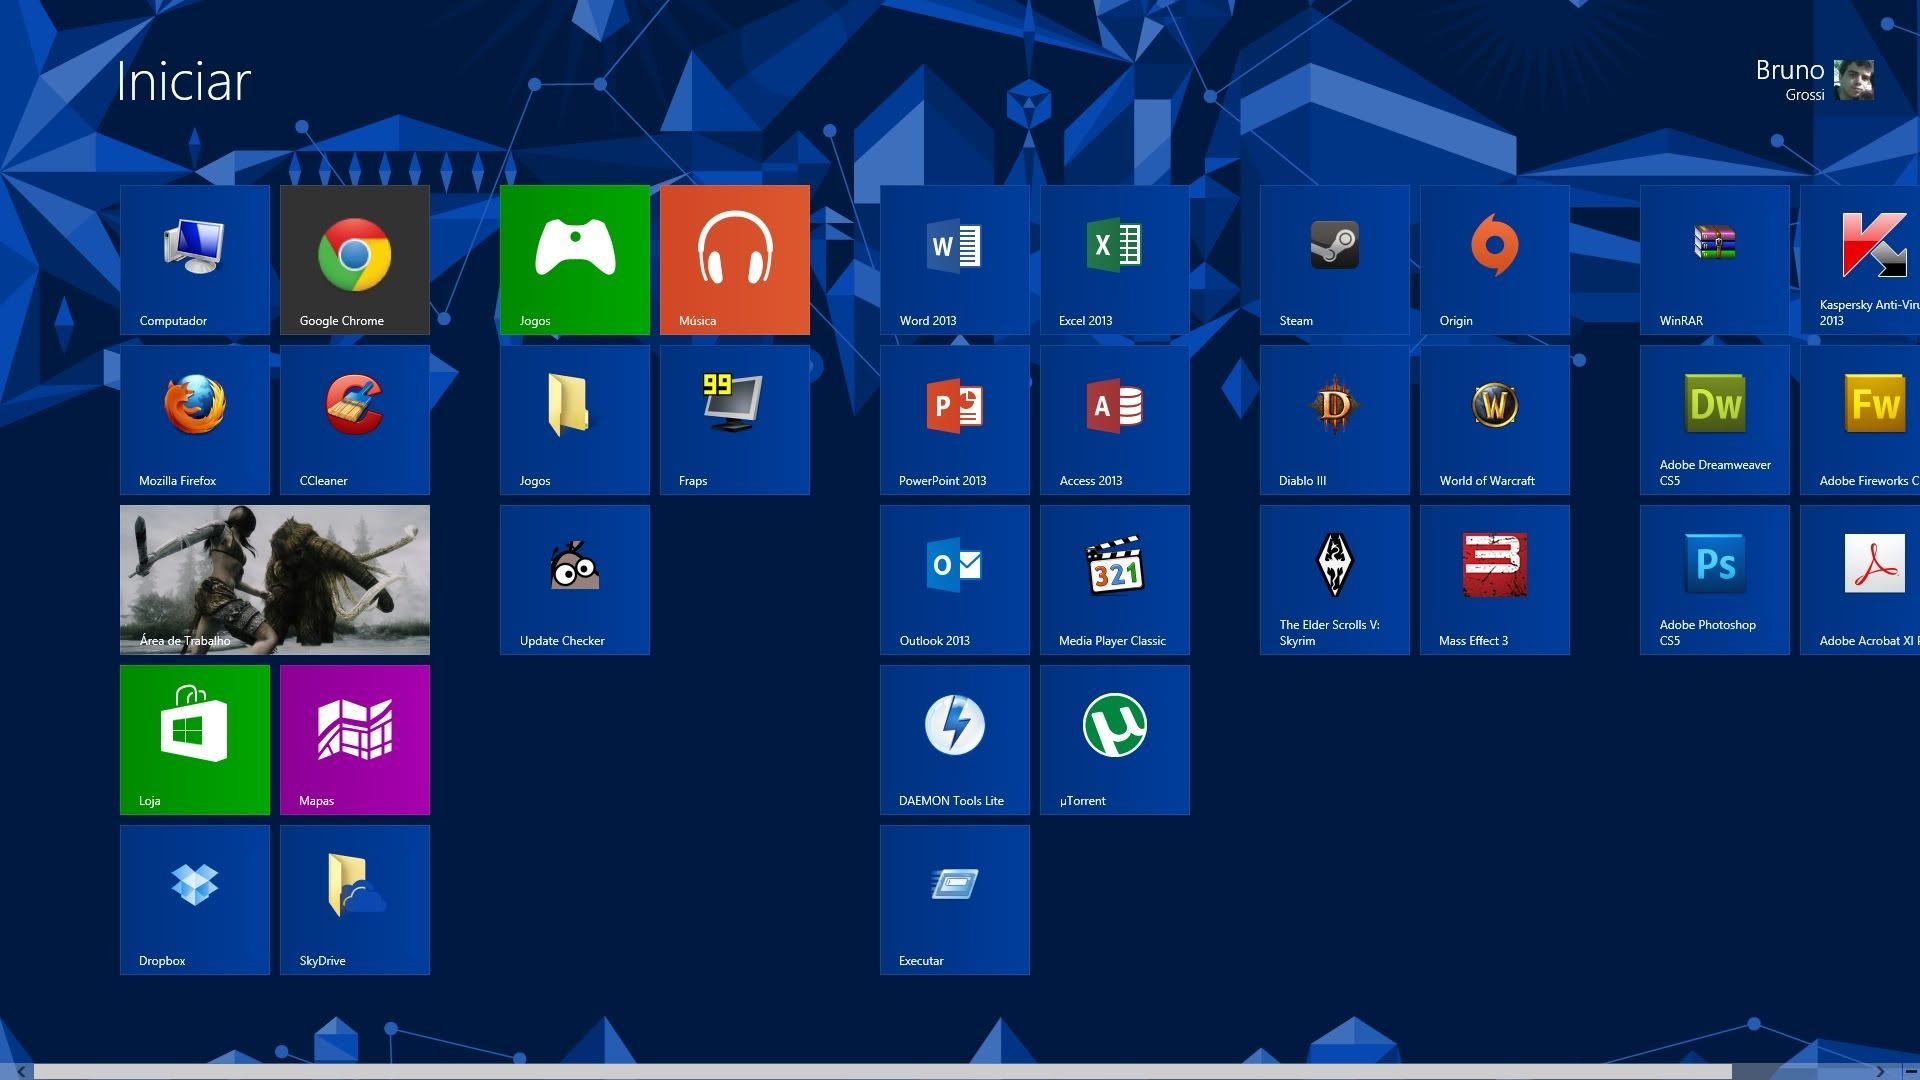
EXAMPLE: Apps Rows Set from 5 to 6 on Start Screen
NOTE: This is with a 1900 x 1080 screen resolution.


OPTION ONE
Change Number of Apps Tile Rows on "Start" Screen using "Show More Tiles"
This option is only available in Windows 8 and 8.1 if your screen resolution is set to 1920 X 1200 or above, and available on Surface tablets. If not, then you will need to use OPTION TWO or OPTION THREE below instead.
1. If you have not already, turn off "Make everything on your screen bigger".
2. Go to your Start screen.
3. While on your Start screen, open the Charms bar, and click/tap on the Settings charm. (see screenshot below)
NOTE: You could also press the Windows + I keys while on the Start screen to open the Settings charm directly.

4. Click/tap on Tiles at the top of the right "Settings" flyout. (see screenshot below)

5. Do step 6 or 7 below for what you would like to do.
6. To "Show more tiles" on Start Screen
A) Move the Show more tiles slider to the right to say Yes, and go to step 8 below. (see screenshot below)

7. To Not "Show more tiles" on Start Screen
NOTE: This is the default setting.
A) Move the Show more tiles slider to the left to say No, and go to step 8 below. (see screenshot below)

8. You can click/tap on a empty area of the Start screen to close the Tiles flyout.
OPTION TWO
To Change Number of Apps Tile Rows on "Start" Screen using VBScript File
This option only works in Windows 8, and no longer works in Windows 8.1.
2. Click/tap on the Download button below to download the file below.
Change_Number_of_Apps_Tile_Rows_on_Start.vbs

3. Save the .vbs file to your Desktop.
4. Double click/tap on the downloaded .vbs file to run it.
5. If prompted, click/tap on Open.
6. Follow the instructions in the vbscript dialog pop-up boxes until finished. (see screenshot below)
NOTE: You'll notice that the script will let you know what range you are able to set for your specific PC to help.


7. If this did not help, then also try changing the DPI scaling for the Start screen. It may take a bit of experimenting to find the scale that works best for you though.
OPTION THREE
To Change Number of Apps Tile Rows on "Start" Screen in Registry Editor
This option only works in Windows 8, and no longer works in Windows 8.1.
1. If you have not already, turn off "Make everything on your screen bigger".
2. Press the Windows+R keys to open the Run dialog box.
3. In Run, type regedit, and click/tap on OK. (see screenshot below)

4. If prompted by UAC, then click/tap on Yes.
5. In regedit, navigate to the location below. (see screenshot below)
Code:
HKEY_CURRENT_USER\Software\Microsoft\Windows\CurrentVersion\ImmersiveShell\Grid

6. In the right pane of Grid, double click/tap on Layout_MaximumRowCount. (see screenshot above)
NOTE: If you do not have the DWORD Layout_MaximumRowCount, then right click on an empty space in the right pane of Grid, click/tap on New and DWORD (32-bit) Value, then type Layout_MaximumRowCount and press Enter.
7. Using the table below as a guide, type in how many apps tile rows you want, and click/tap on OK. (see screenshot below)

The table below will give you the default and maximum number of apps tile rows you can usually set with your current screen resolution. Generally, the larger the vertical resolution the more app tile rows you are able to have.
- The minimum amount of apps tiles rows must be 1.
- The maximum amount of apps rows in the table below is determined by the value of the Layout_MaximumAvailableHeightCells DWORD in the same registry location from step 5.
Screen Resolution (HxV) | Default | Max | Min |
800 x 600 | 3 | 3 | 1 |
1024 x 768 | 4 | 4 | 1 |
1152 x 864 | 5 | 5 | 1 |
1280 x 720 | 4 | 4 | 1 |
1280 x 900 | 5 | 5 | 1 |
1280 x 960 | 5 | 6 | 1 |
1280 x 1024 | 5 | 6 | 1 |
1400 x 1050 | 6 | 6 | 1 |
1440 x 900 | 5 | 5 | 1 |
1600 x 900 | 5 | 5 | 1 |
1680 x 1050 | 6 | 6 | 1 |
1900 x 1080 | 5 | 6 | 1 |
1920 x 1080 | 6 | 6 | 1 |
1920 x 1200 | 6 | 7 | 1 |
2560 x 1920 | 6 | 10 | 1 |
8. Close regedit.
9. Sign out and in to apply.
10. If this did not help, then also try changing the DPI scaling for the Start screen. It may take a bit of experimenting to find the scale that works best for you though.
OPTION FOUR
To Restore Default Number of Apps Tile Rows on Metro Start Screen
This option will work no matter if you used OPTION ONE, OPTION TWO, or OPTION THREE above.
1. Click/tap on the Download button below to download the .bat file below, and run it.
Restore_Default_Number_of_Apps_Rows.bat
2. If prompted, click/tap on Run and Yes (UAC).
NOTE: If you like, you can stop getting the Run prompt by unblocking the downloaded .bat file.
3. You will now notice your screen flash as explorer is restarted to apply the registry changes.
That's it,
Shawn
Related Tutorials
- How to Open the "Start" Screen in Windows 8 and Windows 8.1
- Change Your Start and Sign in Screen Background and Color in Windows 8 and 8.1
- How to Change Start Screen Tile Icon and Name in Windows 8 and 8.1
- How to Pin or Unpin a App, Folder, or Drive on the "Start" Screen in Windows 8
- How to Pin and Unpin Websites from IE10 to Start Screen in Windows 8
- How to Name or Rename a Group of Apps on "Start" in Windows 8 and Windows 8.1
- How to Resize App Tiles to be Smaller or Larger on "Start" in Windows 8 and 8.1
- How to Organize Apps into Groups on "Start" in Windows 8 and Windows 8.1
- How to Turn "Make everything on your screen bigger" On or Off in Windows 8 and 8.1
- How to Download a "Start" Screen Shortcut in Windows 8
- How to Change the DPI for Modern UI in Windows 8
- How to Sort Items on Your Apps Screen in Windows 8.1
- How to List Desktop Apps or Store Apps First on Your Apps Screen in Windows 8.1
Attachments
Last edited by a moderator:


")